Bonsai Wiring Basics
Published How we research
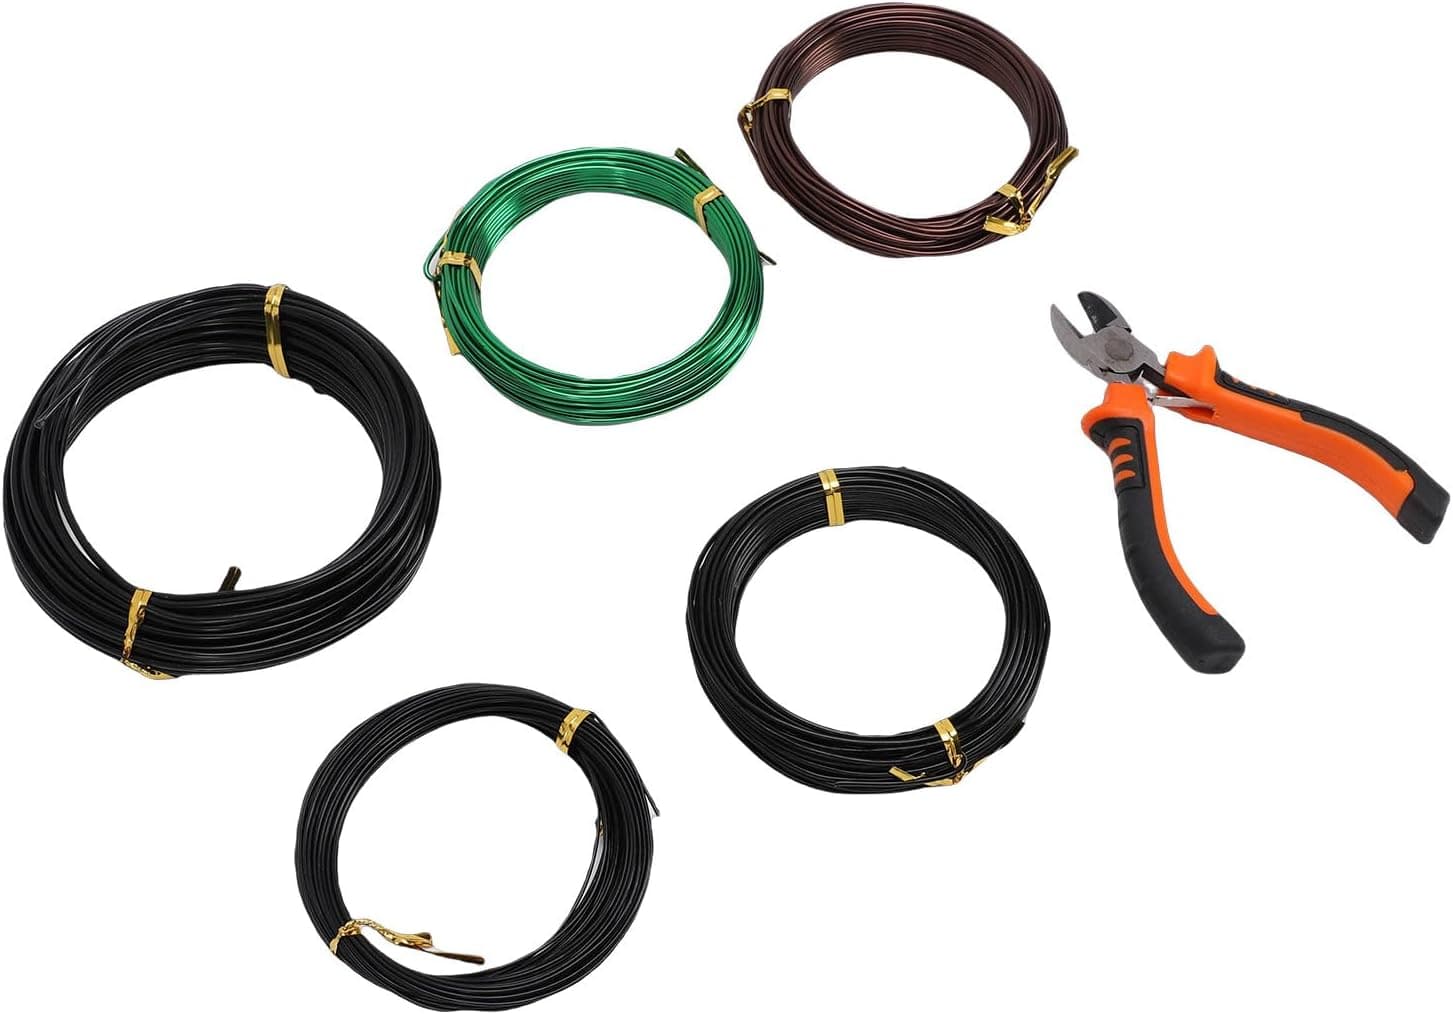
Wiring is how you place a branch where you want it rather than where the tree happened to grow it. Pruning decides what stays; wiring decides where it goes. It looks intimidating in photographs of heavily wired trees, but the underlying skill is small and mechanical, and an afternoon of practice on a cheap nursery shrub will teach you more than any amount of reading.
Two materials dominate. Anodised aluminium is soft, forgiving, and reusable, and it is the right choice for beginners and for all deciduous species. Annealed copper is harder, holds heavier branches with a thinner gauge, and hardens further as you work it, which makes it favoured for pines and junipers where strong bends must hold. Whichever you use, gauge selection follows a simple guideline: choose wire roughly one third the thickness of the branch you intend to bend. Too thin and the branch springs back and the wire simply cuts a spiral scar for nothing. Too thick and it is hard to apply neatly and marks the bark unnecessarily.
Anchoring is the step most often done badly. Wire needs something to push against, or turning the branch just unwinds the coil. For a single branch, wrap the wire once or twice firmly around the trunk before running out along the branch. Better still, wire two branches of similar thickness with one continuous length, using the trunk between them as the anchor. On a trunk, anchor by pushing the wire end into the soil against the root ball before spiralling upward. A wire that moves when you bend is a wire that is doing nothing.
The wrapping itself has a correct form. Coil at roughly a forty-five degree angle to the branch, spacing the turns evenly. Steeper than that and the wire has little bending power; shallower and it constricts the branch and looks untidy. Keep the wire snug against the bark but not biting into it, and hold the branch steady with your other hand as you wrap so you are not levering on it. Work from the base of the branch outward, and step down a gauge when you continue into thinner secondary branches. Wire should end just past the last point you intend to bend.
Bending is done with two hands, always. Support the outside of the bend with your thumbs and move the branch slowly, feeling for resistance. Wood gives warning before it fails, usually as a faint crackling, and stopping at that point is the difference between a shaped branch and a broken one. Bend in stages over multiple sessions rather than forcing a dramatic curve in one go. Thicker or brittle branches can be wrapped in raffia or tape first, which holds the fibres together and allows a much sharper bend than the bare branch would tolerate. Placing the bend so the branch also twists slightly reduces the risk of cracking on the outside of the curve.
Season and tree condition matter. Deciduous trees are usually wired in late autumn or winter when leaves are off and the structure is visible, or in early summer once growth has hardened. Junipers and pines can be wired for much of the year but are most flexible in late autumn and winter. Avoid wiring a tree that is weak, freshly repotted, or in the middle of pushing tender new growth, since branches are brittle and the tree does not need another stress. Slightly dry trees are marginally more flexible than fully turgid ones, so many growers skip watering the day before a heavy wiring session.
Expect to redo work. Wire is not permanent, branches partly spring back, and your idea of the design will change as the tree develops. Treat each wiring as one step in a long conversation rather than a final answer, and keep checking regularly so that wire comes off before it damages the bark it was meant to shape.
Products from this article
The highest-scoring picks from the buying guides mentioned above. Scores are our editorial assessment, not customer ratings.
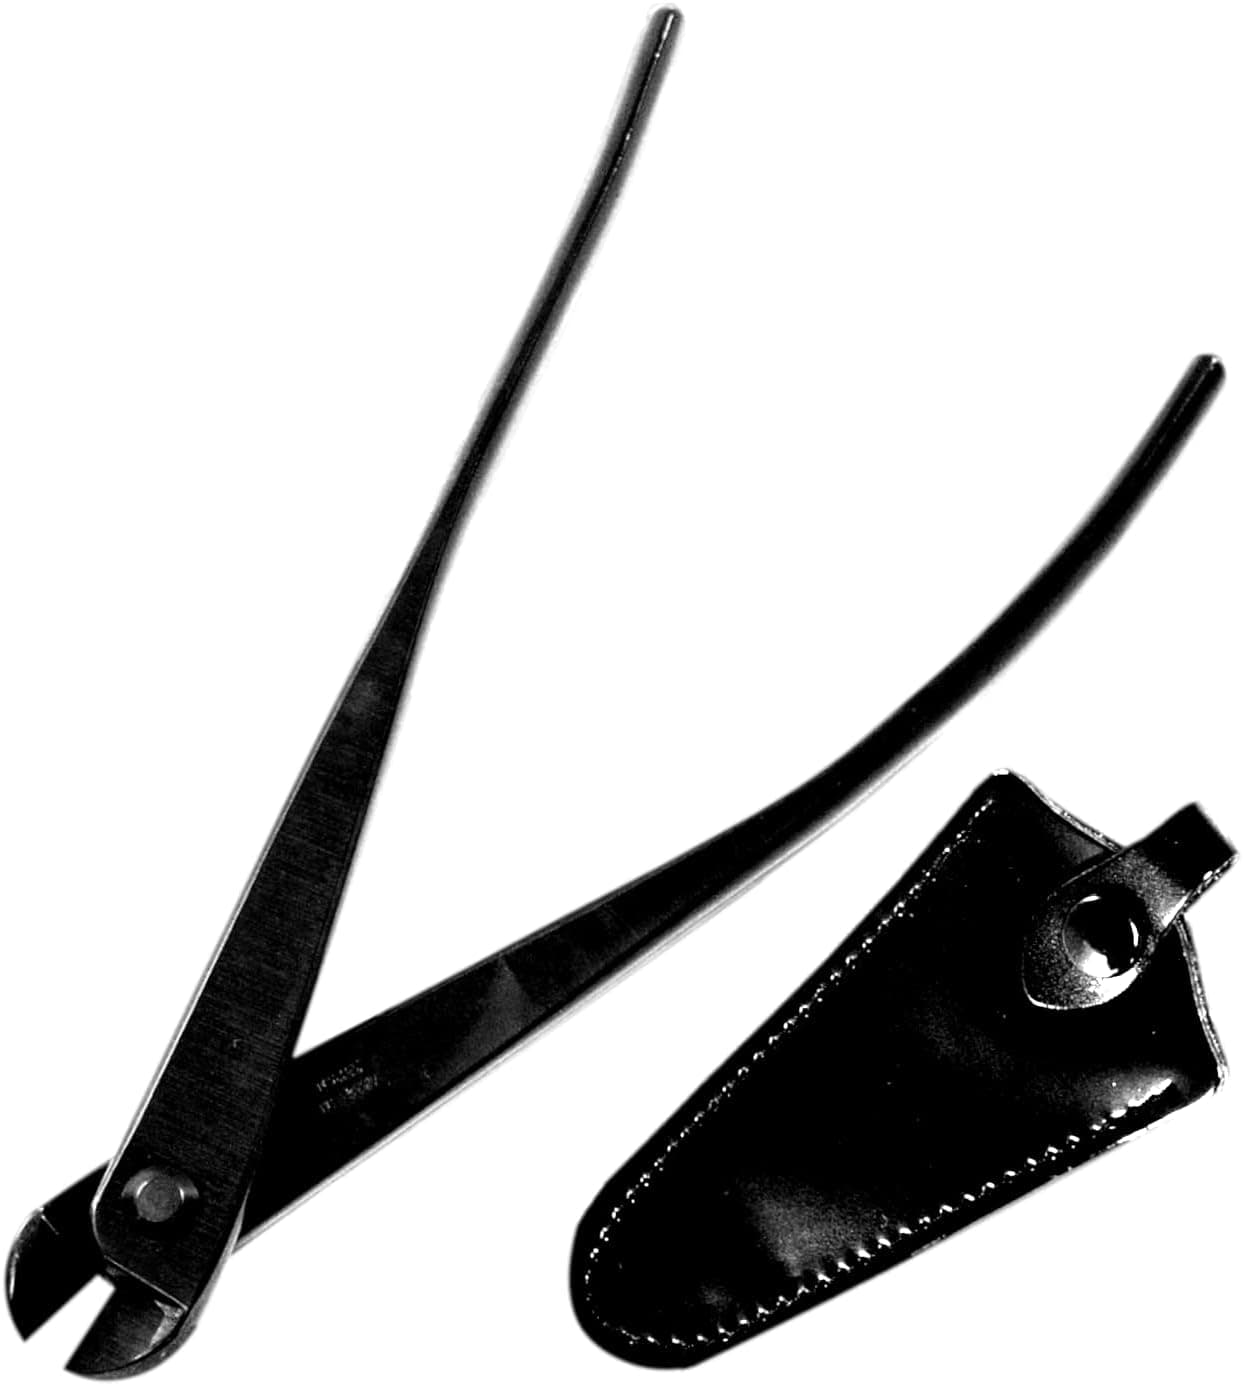
+ Rounded head cuts wire flush without nicking the bark
From our guide: Best Bonsai Wiring and Shaping Tools
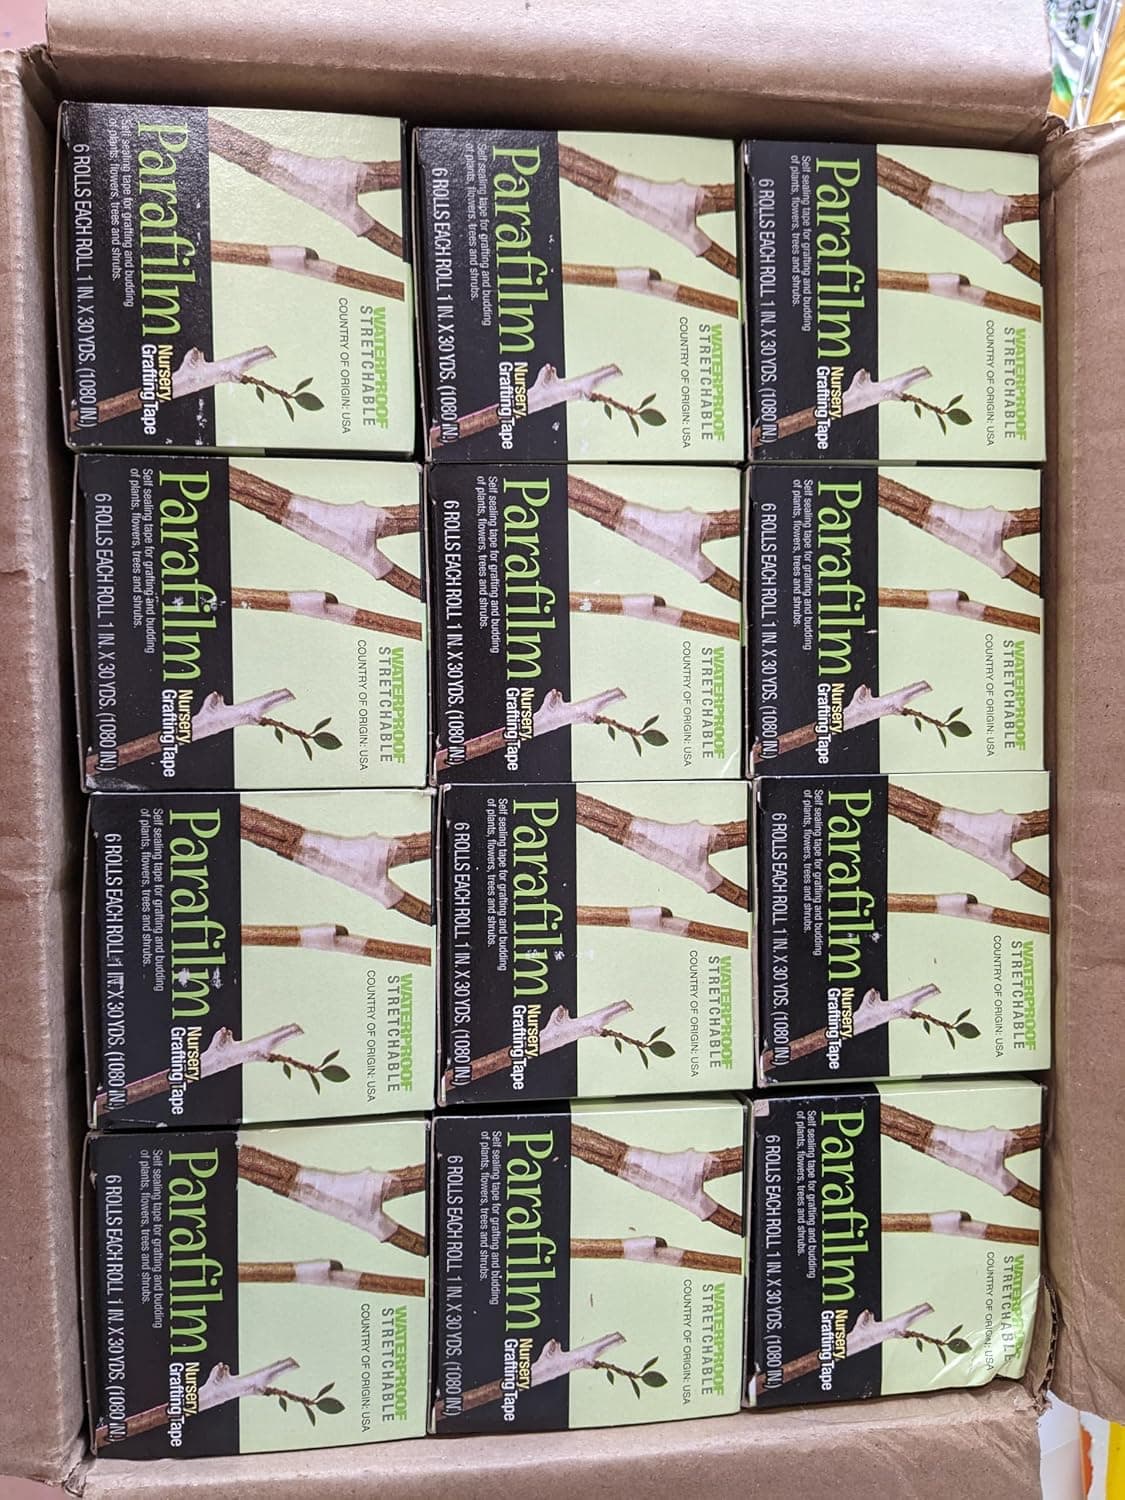
+ 30 yards on one roll covers a very large number of grafts
From our guide: Best Bonsai Grafting Supplies
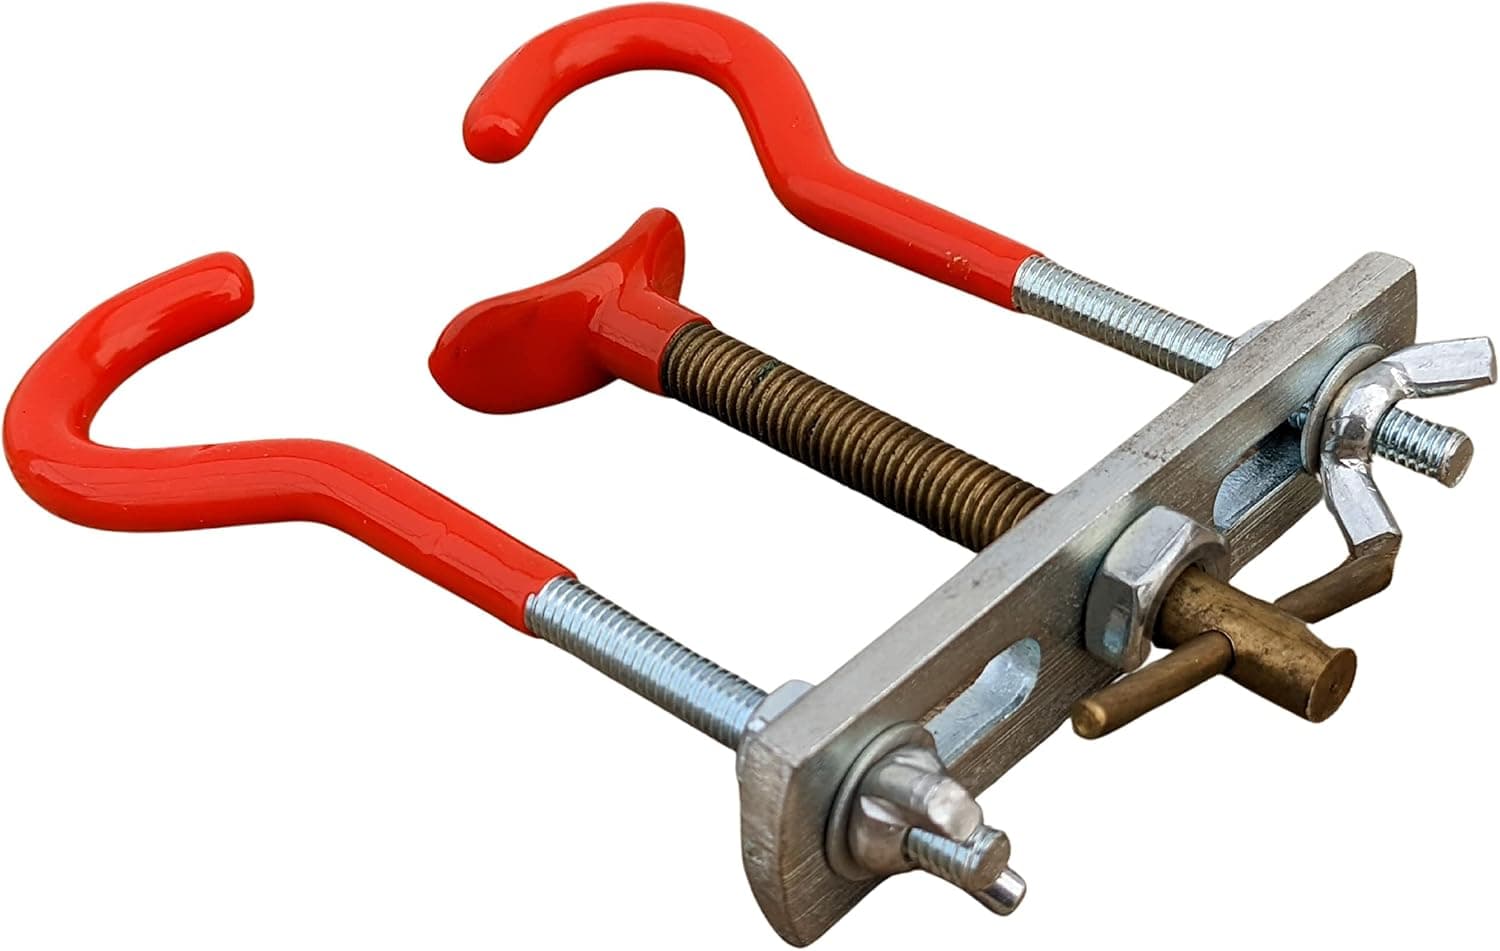
+ Screw action applies slow, controlled pressure to branches
From our guide: Best Branch Benders for Bonsai
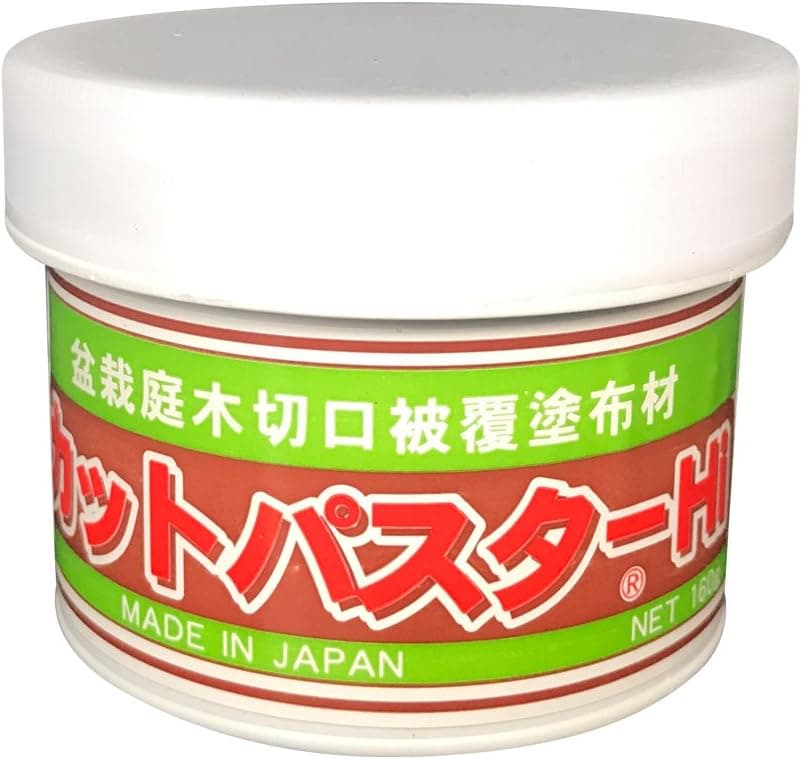
+ Putty based paste stays soft and molds into large cuts
From our guide: Best Bonsai Wiring and Shaping Tools
Popular right now
- Choosing the Right Bonsai Pot for Your TreeArticle
- Best Raffia and Wrapping for BonsaiBuying guide
- Bonsai Display and Presentation Basics at Home and at ShowsArticle
- Moss and Accent PlantingArticle
- Best Bonsai Seed KitsBuying guide
- Pinching vs CuttingArticle
Based on the last 28 days of search and visitor data.