Developing Trunk Taper
Published How we research
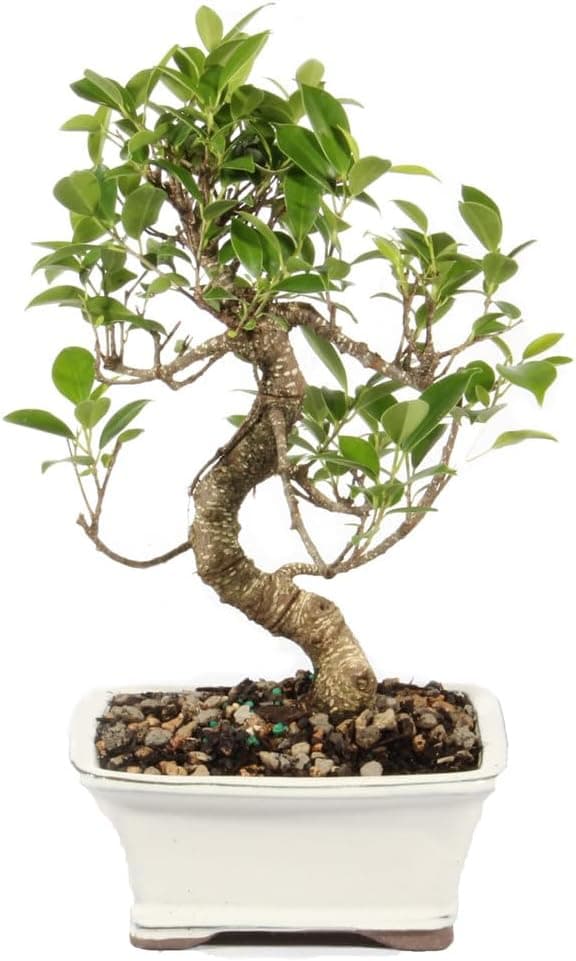
Taper is the gradual narrowing of a trunk from a wide base to a fine apex. It is the single strongest cue that makes a small tree read as a large one, because full-sized trees are always thicker at the bottom than the top and our eyes assume the same relationship in miniature. A trunk of even thickness from soil to tip looks like a stick with leaves on it no matter how well the branches are arranged. Almost every beginner tree suffers from this, and almost every fix takes years.
The reason taper is hard is that pots prevent it. A trunk thickens because the tree is producing large amounts of foliage and moving sap up and down through it. Restricting a tree to a small container and keeping it trimmed to a pleasing size stops the thickening almost completely, so a tree kept tidy in a bonsai pot from the start may stay essentially the same trunk thickness for a decade. Development and refinement are opposing activities, and you have to accept an ugly phase to get a good trunk.
The standard method is grow and chop, sometimes called trunk chopping or sacrifice growth. You plant the tree in a large container or directly in the ground and let it grow without restraint, often for two or three years, until the lower trunk has reached the thickness you want. Then you cut the trunk down hard, usually to a fraction of its height, choosing a point just above a side branch or a bud. That branch becomes the new leader, and because it is thinner than the trunk below it, you have created a step change in thickness. You then let the new leader run wild in turn, thicken it, and chop again higher up. Each cycle adds another section of taper.
The details determine whether the result looks natural. Cut at an angle rather than straight across, so the wound faces away from the front and heals into a continuous line. Choose a new leader that emerges at a slight angle rather than dead vertical, since that introduces movement as well as taper. Keep the segments between chops relatively short, because long straight sections between changes of direction look mechanical. And be aware that each chop leaves a scar that must callus over, which is why species that heal quickly, such as elm, trident maple and ficus, are far easier to develop this way than slow-healing pines.
Sacrifice branches are the other main tool and are gentler. Instead of chopping the trunk, you allow one branch low on the trunk to grow completely unchecked, sometimes for several years. All that foliage drives thickening in the trunk below its point of attachment while the part above stays slender. When the section has thickened enough, you remove the sacrifice branch entirely. Because the sacrifice is on the trunk rather than being the trunk, you keep the branch structure you are developing above it, and the only cost is one wound. Sacrifice branches on pines are the standard way to build trunks without the healing problems that chopping causes.
The most common mistakes are all impatience. Potting a developing tree into a shallow bonsai pot too early stops thickening dead. Pruning the sacrifice branch back because it looks unbalanced defeats its entire purpose. Chopping too little off, leaving a long straight section that will never gain taper. Chopping in the wrong season, typically late in the year when the tree cannot respond with growth. And repeatedly changing plans, so that the tree never spends two consecutive years doing the same thing.
The consolation is that this work is not demanding day to day. A tree in a grow box or the ground mostly needs watering, feeding and being left alone. The discipline required is not skill but restraint over long periods, and the trade is straightforward: a few years of a tree that looks like nothing in exchange for a trunk that will carry the design for the rest of its life.
Products from this article
The highest-scoring picks from the buying guides mentioned above. Scores are our editorial assessment, not customer ratings.
+ Ficus tolerates indoor conditions far better than juniper, so it suits apartments
From our guide: Best Pre-Bonsai Stock to Buy
+ Plant markers help track which seedling is which as they sprout
From our guide: Best Bonsai Seed Kits
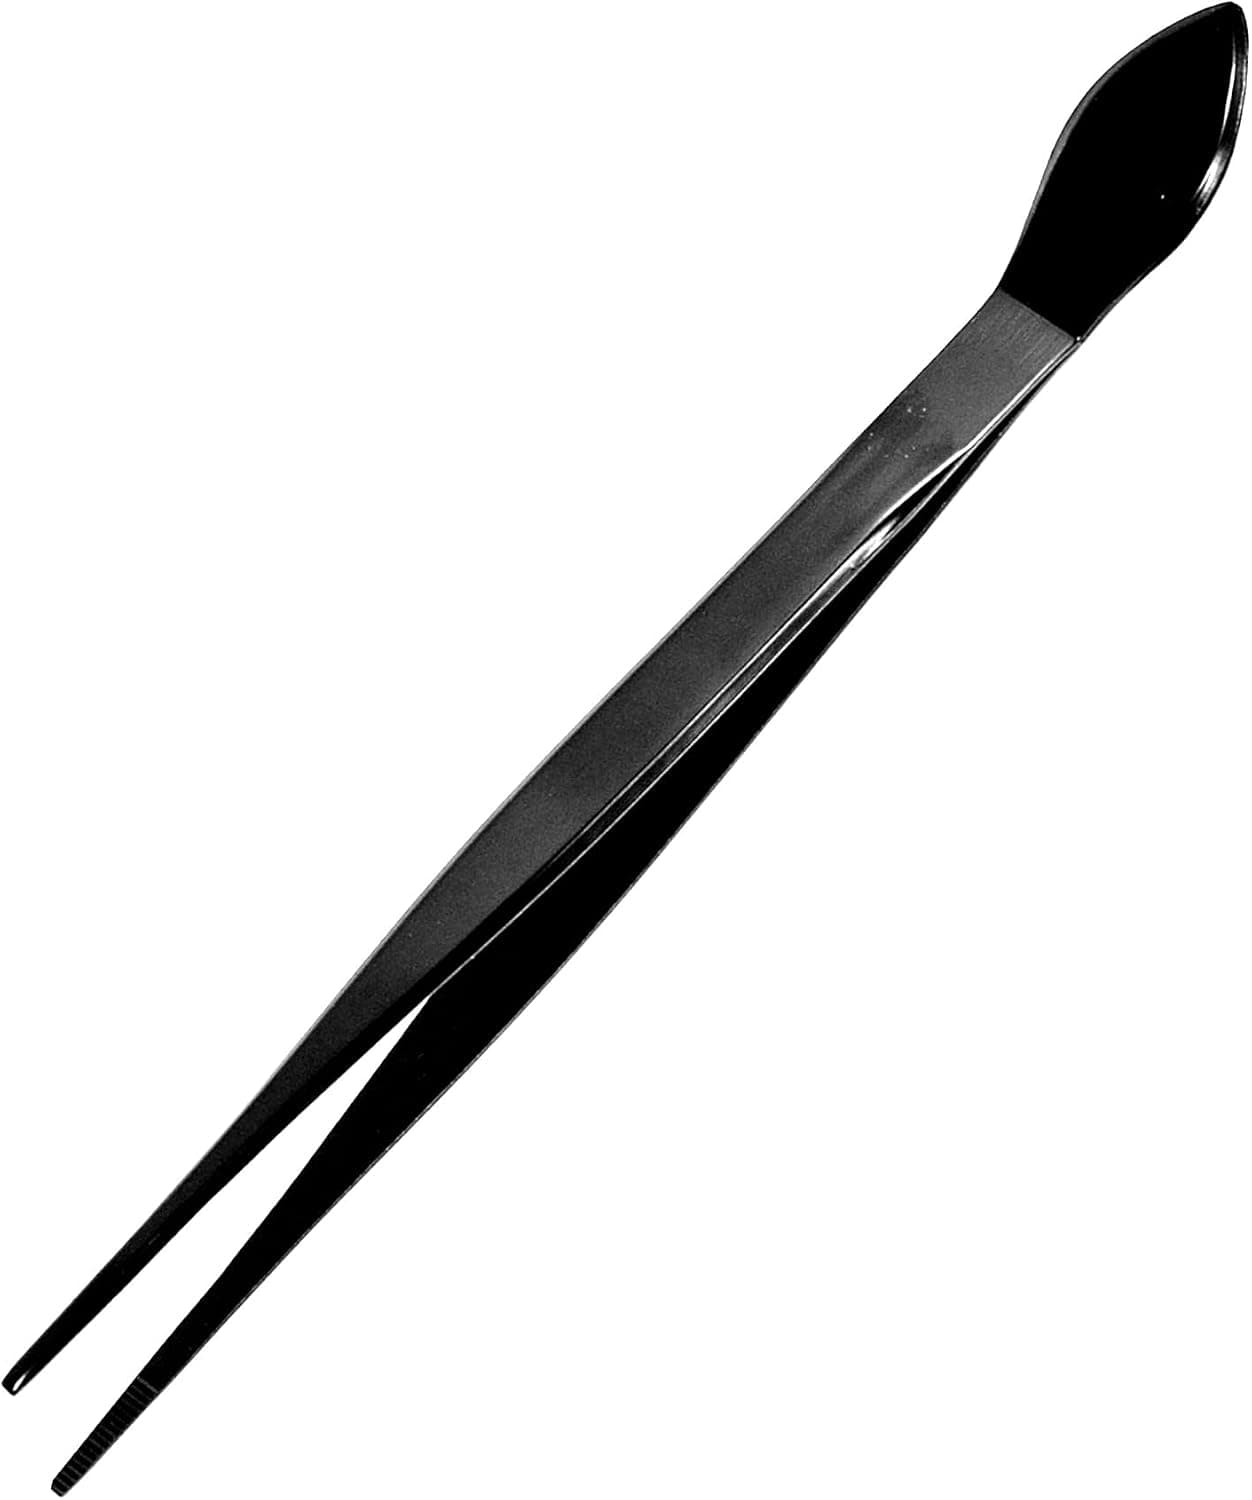
+ Serrated straight tips pick weeds and debris precisely
From our guide: Best Bonsai Tweezers and Spatulas
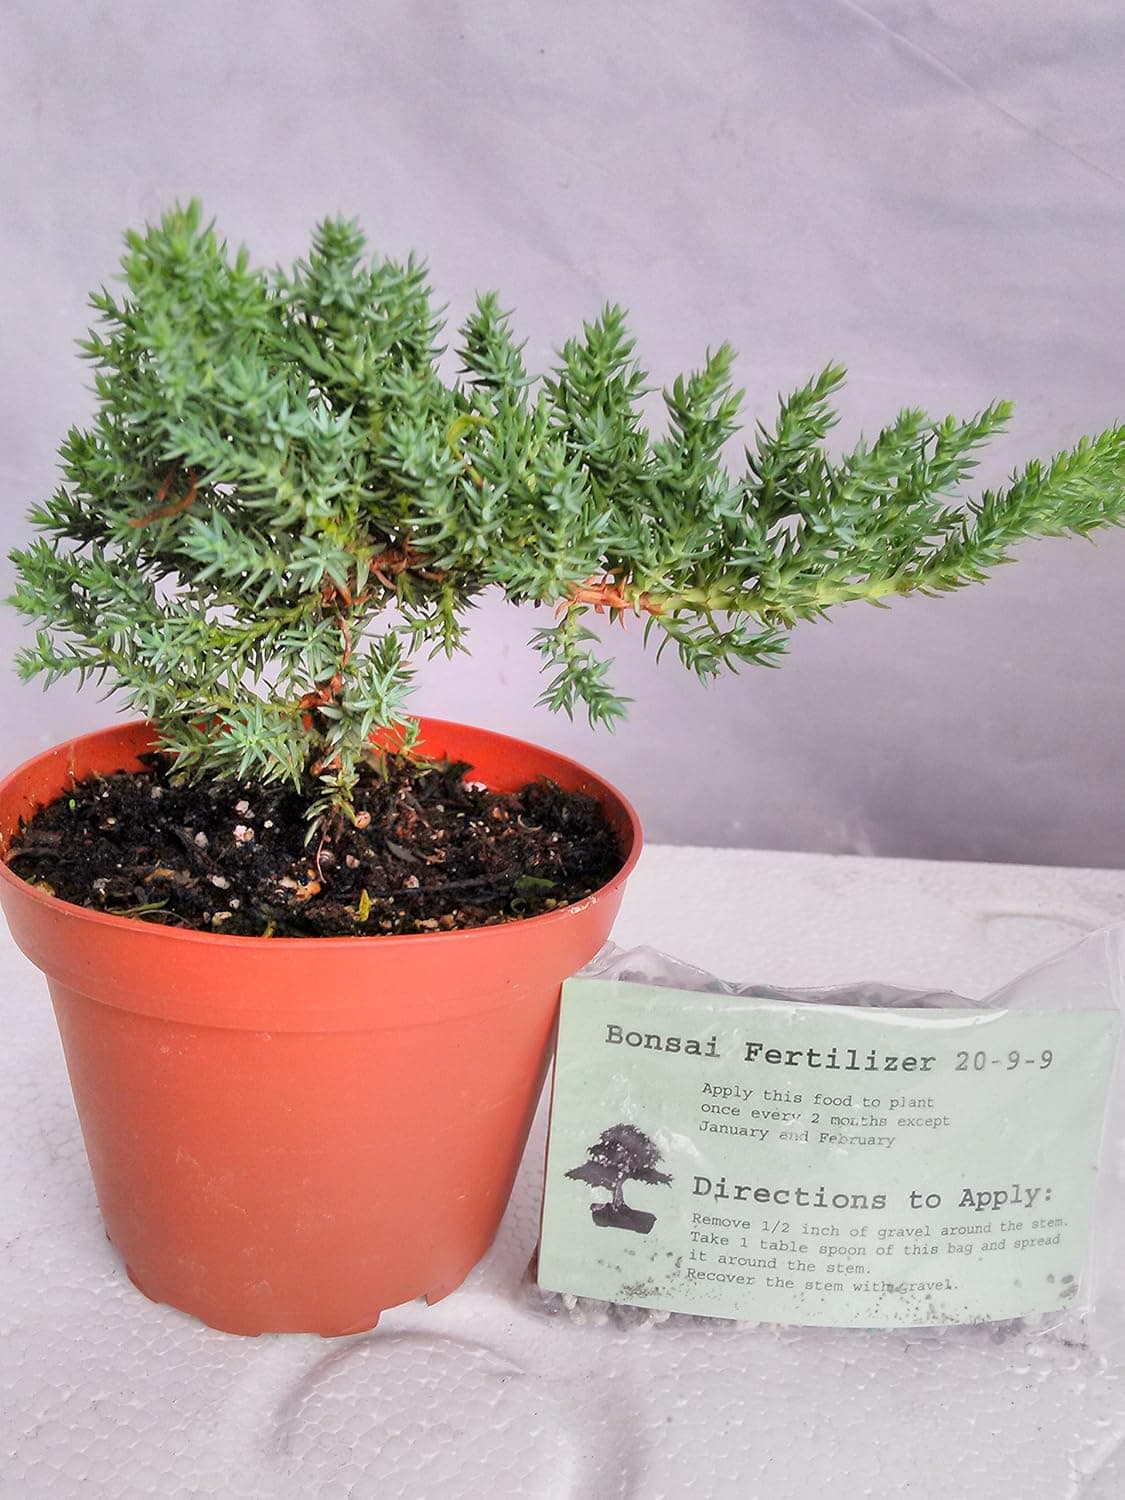
+ Named cultivar Juniperus procumbens Nana tells you exactly what you are getting
From our guide: Best Pre-Bonsai Stock to Buy

Popular right now
- Choosing the Right Bonsai Pot for Your TreeArticle
- Best Raffia and Wrapping for BonsaiBuying guide
- Bonsai Display and Presentation Basics at Home and at ShowsArticle
- Moss and Accent PlantingArticle
- Best Bonsai Seed KitsBuying guide
- Pinching vs CuttingArticle
Based on the last 28 days of search and visitor data.